Resurrecting Your Garage: The Art And Science Of Garage Door Panel Replacement
Do you feel like your garage is the black sheep of your home? Are you tired of looking at those old, damaged garage door panels every time you come home? It’s time to resurrect your garage and bring it back to life with the art and science of garage door panel replacement.
Replacing your garage door panels may seem like a daunting task, but with the right tools, materials, and know-how, it can be a straightforward process. Not only will a new set of panels improve the aesthetic appeal of your home, but it can also enhance its value. So why not take on this DIY project and give your garage the upgrade it deserves?
In this article, we’ll guide you through the steps necessary to assess damage, choose replacement panels, remove old ones and install new ones. Plus we’ll provide tips for maintenance and care to keep them looking their best for years to come.
Get ready to become an expert in resurrecting garages!
Assessing the Damage
Let’s take a closer look at the damage and figure out what needs fixing. When assessing your garage door panels, you need to determine whether they can be repaired or if they need to be replaced entirely.
If the damage is minor, such as a dent or scratch, then repairing the panel may be an option. However, if there are multiple dents or cracks in the panel, it may be more cost-effective to replace it. Cost considerations should also play a role in your decision-making process.
While repairing a single panel may seem like the cheaper option upfront, if you have multiple damaged panels, it may end up costing more in the long run. Additionally, if your garage door is older and has outdated panels that are no longer manufactured, replacing them with newer models may actually save you money on future repairs and maintenance costs.
With these factors in mind, let’s move on to choosing the right replacement panels for your garage door.
Choosing the Right Replacement Panels
Picking the perfect new pieces for your garage gateway is like finding the missing puzzle parts to complete a cherished memento. You want to choose panels that match the style and color of your existing door, but there are other factors to consider as well.
Here are some panel material options, cost and budget considerations to help you make the right choice:
- Steel – durable and low maintenance
- Wood – traditional and elegant, but requires more maintenance
- Aluminum – lightweight and rust-resistant, but may dent easily
- Fiberglass – versatile and weather-resistant, but not as strong as steel or wood
- Vinyl – affordable and resistant to dents, scratches, and rust
Consider your budget when choosing replacement panels. Steel is usually the most affordable option while wood tends to be pricier. However, keep in mind that cheaper materials may require more frequent repairs or replacements in the long run.
To replace your garage door panels with ease, there are tools and materials you’ll need such as a drill, screws, impact driver or wrench set.

Tools and Materials You Will Need
To successfully replace your garage door panels, you’ll need a few essential tools. These include a screwdriver, pliers, a drill, and safety equipment like gloves and goggles.
Sourcing the right materials is also crucial to ensure compatibility with your existing garage door system.
Essential Tools for the Job
You’ll need some key tools to get started on this project, so let’s take a look at what you’ll need.
First and foremost, you’ll require a set of screwdrivers. Make sure to have both Phillips and flathead varieties in different sizes as they’ll come in handy for removing screws from the garage door panels.
Additionally, you’ll need an adjustable wrench to loosen nuts and bolts that may be holding the panels in place.
Next up on your list should be a pair of pliers. These’ll help you hold onto small parts while working on the door or even bend metal if needed.
You should also invest in a power drill with various bits so that you can make holes where necessary and secure screws tightly into place. Remember that safety’s crucial when working with power tools, so wear protective goggles and gloves to prevent any accidents from occurring.
With these essential tools in hand, you’re ready to start replacing those old garage door panels!
Now that you know what tools are required for this project, it’s time to move onto sourcing the right materials.
Sourcing the Right Materials
Now it’s time to hunt down the necessary materials for this project, like a treasure hunter seeking out buried treasure. Finding suppliers is the first step in sourcing the right materials.
Look for trusted and reputable suppliers in your area or online. Ask around for recommendations from friends or family who’ve also done similar projects. Once you’ve found potential suppliers, compare costs to ensure that you’re getting the best deal possible without sacrificing quality.
When comparing costs, keep in mind that cheaper doesn’t always mean better. Opting for lower-priced materials may save you money upfront but could end up costing you more in repairs or replacements down the line. Quality should be your top priority when choosing materials to ensure that they can withstand wear and tear over time.
With the right supplier and materials, you’ll be well on your way to restoring your garage door panels back to their former glory. Next up is removing the old panels to make way for new ones without causing any damage—let’s get started!
Removing the Old Panels
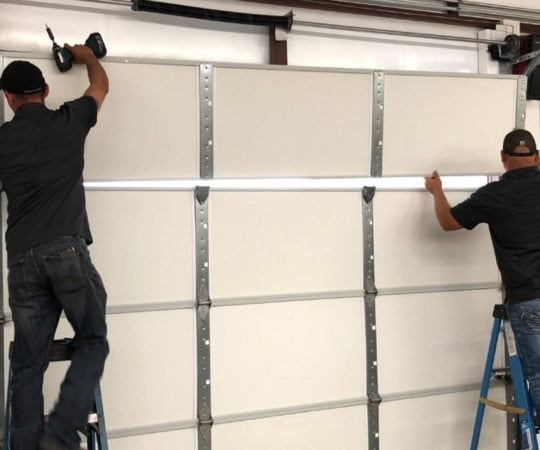
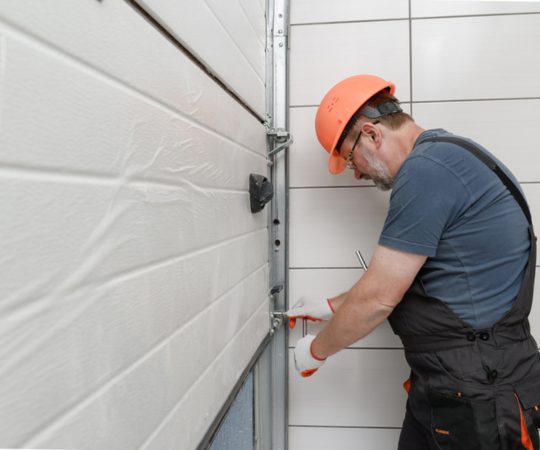
Removing the old panels can be a challenging task, but it’s important to take your time and do it carefully to ensure that the new ones will fit properly and function smoothly.
Start by disconnecting the garage door opener from the power source. Then, remove any hardware attaching the old panels to the track and frame of the garage door. Be sure to save any hardware that’s still in good condition for use with the new panels.
Once you have removed all of the old panels, you will need to dispose of them properly. Check with your local waste management facility or recycling center for disposal options.
Now that you have successfully removed the old panels, it’s time to move on to installing the new ones.
Installing the New Panels
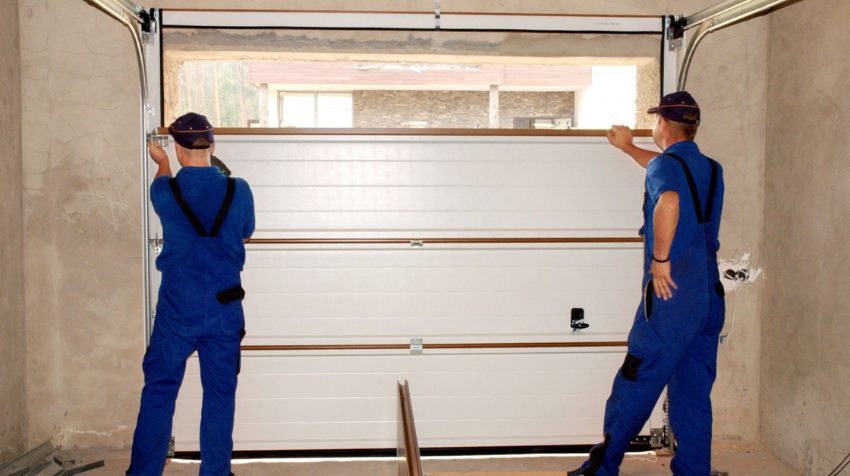
Get ready to give your garage a fresh new look with the installation of the sleek and shiny new panels. But before you start, make sure that you measure correctly to ensure a perfect fit for your new panels. Accurate measurement is crucial, as it’ll prevent any gaps or misalignments that can compromise the overall appearance and functionality of your garage door.
If you’re not confident in taking accurate measurements yourself, consider hiring professionals to do it for you. They’ve got the skills and experience needed to get precise measurements and ensure that your new panels fit seamlessly into your existing door.
Once you’ve measured everything correctly, installing the new panels should be straightforward and easy. Just follow the manufacturer’s instructions carefully, and don’t hesitate to seek professional help if needed.
As important as panel replacement is maintaining and caring for them properly once they’re installed.
Maintenance and Care
Make sure to keep your new garage door panels looking great for years to come by taking preventive measures. Regularly inspect the panels and hardware for any signs of damage, wear and tear, or loose screws. If you notice anything out of the ordinary, address it immediately to prevent further damage.
Additionally, cleaning your garage door panels regularly can help maintain their appearance. Use a mild detergent mixed with water and a soft cloth to gently clean off any dirt or grime that may accumulate over time.
While some maintenance tasks can be done as DIY projects, it’s important to know when it’s time to seek professional help. If you notice any significant damage that requires extensive repairs or replacement, it’s best to call in a professional technician who has the knowledge and tools necessary for the job. Attempting major repairs on your own can not only be dangerous but also potentially make the problem worse.
By taking care of your new garage door panels properly and knowing when to seek professional assistance, you can ensure that they’ll continue functioning optimally while maintaining their aesthetic appeal for years to come.

Frequently Asked Questions
Can I replace just one or two damaged panels instead of the whole garage door?
If you have a damaged garage door panel, you may be wondering if it’s possible to replace just one or two panels instead of the entire door. The good news is that partial replacement is often an option, as long as the new panels are compatible with your existing ones.
It’s important to note that not all manufacturers make panels that are interchangeable, so you’ll need to do some research to ensure compatibility. Additionally, it’s essential to properly measure and install the new panels for a seamless fit with your existing door.
With careful consideration and expert installation, partial panel replacement can save you both time and money while restoring the appearance and functionality of your garage door.
How much does it typically cost to replace garage door panels?
If you need to replace a damaged garage door panel, the cost estimation will depend on several factors. The material of the panel is one of them: steel panels tend to be cheaper than wooden ones, for example. Other factors include the size of the panel and its design.
On average, replacing a single panel can cost anywhere from $200 to $1000 or more. It’s important to note that if your garage door is old or in poor condition, it may be more cost-effective to replace the entire door rather than just one or two panels. Consider all your options before making a decision and consult with a professional garage door technician for guidance.
Can I paint the replacement panels to match the rest of my garage door?
If you’re wondering whether you can paint replacement panels to match the rest of your garage door, the answer is yes!
With the right painting techniques and color matching, you can easily blend in new panels seamlessly with your existing ones.
The key is to use a high-quality paint that matches the texture and finish of your current panels.
You may need to experiment with different colors and shades to get an exact match, but it’s worth it for a cohesive look.
Make sure to clean and prep the surface before painting, and apply multiple thin coats for best results.
With some patience and attention to detail, you can have a garage door that looks brand new again.
Do I need any special skills or experience to replace garage door panels?
Replacing garage door panels can be a DIY project, but it requires some special skills and experience. If you’re comfortable with basic tools and have some knowledge of how garage doors work, you may be able to tackle this job on your own. However, if you’re not confident in your abilities or don’t have the necessary tools, it’s best to hire a professional.
To replace garage door panels yourself, you’ll need a few specific tools such as a drill, screwdriver, pliers, and wrenches. You’ll also need to carefully follow instructions for removing the old panels and installing the new ones. It’s important to take safety precautions when working with heavy garage doors and their components.
Ultimately, whether you choose to go DIY or hire a pro will depend on your comfort level with the task at hand.
How long does it typically take to replace garage door panels?
Replacing garage door panels typically takes anywhere from 2 to 4 hours, depending on the size and complexity of your garage door. The installation process involves removing the old panels, aligning the new ones, and securing them in place with screws or bolts.
However, one common mistake that many inexperienced homeowners make is not properly aligning the doors before attaching them. This can cause uneven gaps and prevent smooth operation of the door. Another mistake is using incorrect hardware or tools, which can damage both the panel and surrounding areas.
To avoid these mistakes, it’s important to read through the instructions carefully and use proper tools for each step of the process. With a bit of patience and attention to detail, you can successfully replace your garage door panels and give your home a fresh new look.
Conclusion
Congratulations! You’ve successfully resurrected your garage with the art and science of garage door panel replacement. Your dedication to assessing the damage, choosing the right replacement panels, and acquiring the necessary tools and materials paid off in spades.
Now that you’ve installed your new panels, it’s important to remember that maintenance and care are crucial for ensuring their longevity. Don’t forget to lubricate the moving parts regularly. Inspect for any signs of wear and tear, and clean them thoroughly to prevent rust buildup.
Who knew taking care of a garage could be so rewarding? Keep up the good work, DIY master!
Related Source

